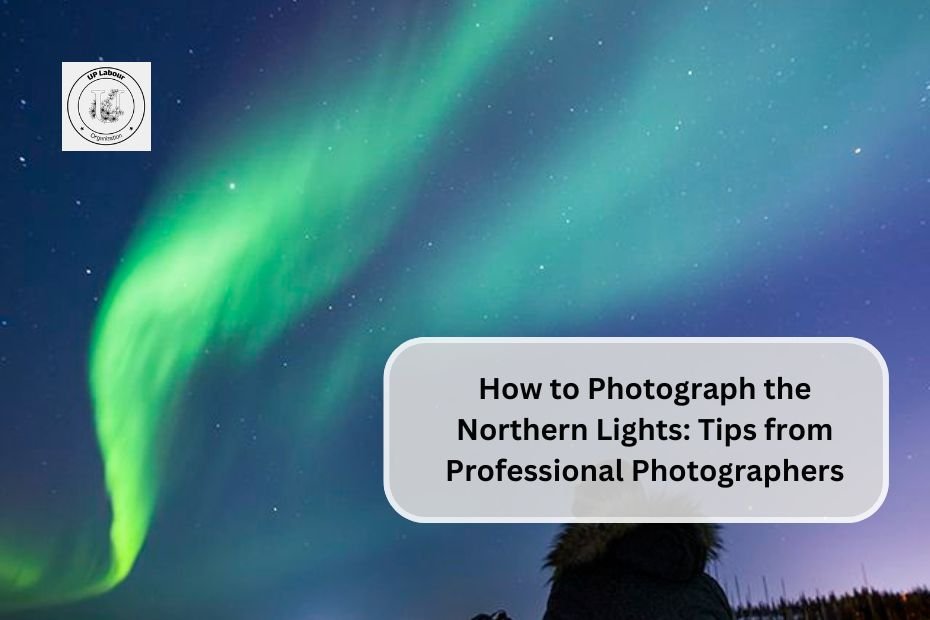
Here are some key tips from professional photographers on how to photograph the Northern Lights:
Use Manual Camera Settings
- Set your camera to manual mode to have full control over settings like aperture, shutter speed and ISO
- Avoid using automatic settings as they may not capture the lights properly
Use a Wide-Angle Lens
- A wide-angle lens allows you to capture more of the sky and landscape
- Recommended focal lengths are 14-30mm for full frame cameras and 10-25mm for crop sensor cameras
- Lenses with a wide maximum aperture like f/2.8 are ideal to let in more light
Use a Tripod
- A sturdy tripod is essential to avoid blurry photos from long exposures
- Choose a heavy tripod like carbon fiber to withstand wind
- Level your tripod and camera for easy composition.
Focus on Infinity
- Set your lens to manual focus and focus on a distant object or star
- Use tape to lock the focus in place so it doesn’t shift in the dark
Exposure Settings
- As a starting point, use an aperture of f/2.8, ISO 1600, and a 10-15 second shutter speed
- Adjust as needed based on the brightness of the aurora and your camera’s capabilities
- Avoid overexposing the green color channel which can blow out details
- Shoot in RAW format for best post-processing flexibility
Composition Tips
- Include elements like mountains, beaches or bonfires in the foreground to add interest
- Use a wide-angle lens to capture the full scene
- Take test shots at high ISO to preview your composition in the dark
With the right camera gear and settings, you can capture stunning images of the Northern Lights. Experiment with different compositions and exposure times to find what works best for the conditions. Be patient and keep shooting – the lights are always changing!

